通过rsync+inotify实现服务器之间数据的实时备份
前言
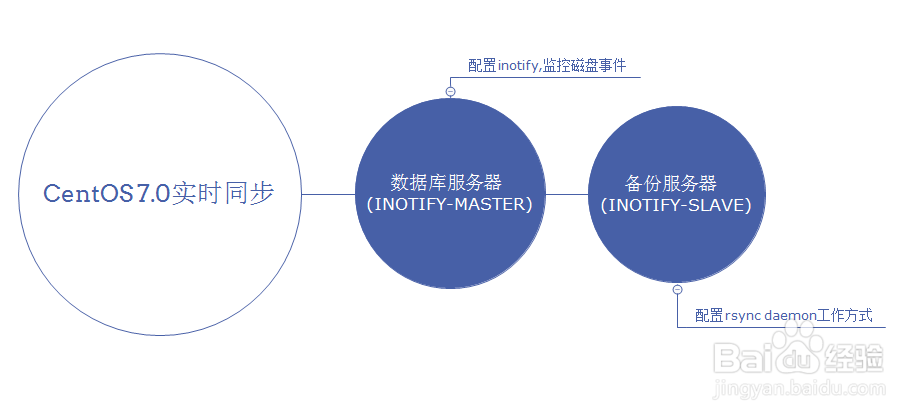
背景:有A、B两台服务器,A为生产服务器,B为备份服务器
需求:A服务器上的目录/home/chancel一有修改,实时同步到备份服务器B上的/home/chancel_backup/目录
rsync+inotify介绍
rsync介绍
rsync是类unix系统下的数据镜像备份工具——remote sync。一款快速增量备份工具 Remote Sync,远程同步 支持本地复制,或者与其他SSH、rsync主机同步。(来自百度百科)
inotify介绍
Inotify 是一个 Linux特性,它监控文件系统操作,比如读取、写入和创建。Inotify 反应灵敏,用法非常简单,并且比 cron 任务的繁忙轮询高效得多。学习如何将 inotify 集成到您的应用程序中,并发现一组可用来进一步自动化系统治理的命令行工具。(来自百度百科)
示例图
实现
B服务器部署
- 安装rsync
yum -y install rsync
- 编辑/etc/rsyncd.conf文件,下面为参考示例
# /etc/rsyncd: configuration file for rsync daemon mode
# See rsyncd.conf man page for more options.
# configuration example:
 uid = nobody
 gid = nobody
 use chroot = no
 max connections = 10
 strict modes = no
 # pid文件,如无法再次启动可删除
 pid file = /var/run/rsyncd.pid
 lock file = /var/run/rsyncd.lock
 log file = /var/run/rsyncd.log
# exclude = lost+found/
# transfer logging = yes
# timeout = 900
# ignore nonreadable = yes
# dont compress   = *.gz *.tgz *.zip *.z *.Z *.rpm *.deb *.bz2
# [ftp]
#        path = /home/ftp
#        comment = ftp export area
[betterlife]
# 本地存放的目录
path = /home/chancel
comment = betterlife file
ignore errors
read only = no
write only = no
hosts allow = *
list = false
# 可自定义
uid = root
gid = root
auth users = backup
# 密码文件,内容为“账户:密码”
secrets file = /etc/server.pass
- 增加/etc/server.pass文件,内容如下
backup:密码
- 修改/etc/server.pass权限
chmod 600 /etc/server.pass
- 启动rsync守护进程,并将其写入开机项中
rsync --daemonecho "rsync --daemon" >>/etc/rc.local
备份服务器设置到此完毕
A服务器部署
- 安装rsync和inotify-tools
yum -y install rsyncyum install inotify-tools
- 如果inotify-tools无法通过yum安装(已安装跳过此步骤),可从github下载自行编译安装,下面给出参考
wget http://github.com/downloads/rvoicilas/inotify-tools/inotify-tools-3.14.tar.gz
tar -zxf inotify-tools-3.14.tar.gz
cd inotify-tools-3.14
# 配置inotify,并指定安装路径为/usr/local/inotify-3.14
./configure --prefix=/usr/local/inotify-tools-3.14
make && make install
# 将inotify加入系统环境
vim /etc/profile
# 添加入如下语句
export PATH=$PATH:/usr/local/inotify-tools-3.14/bin
# 保存并退出,使环境生效
source /etc/profile
- 创建/etc/server.pass文件,内容如下
密码
- 修改脚本文件权限
chmod 755 /var/www/inotifyrsync.sh
- 测试是否能够通过rsync同步文件(注意防火墙、模块名称一致、账户密码一致、密码文件读取权限设置)
rsync -vzrtopg --delete --progress --password-file=/etc/server.pass /home/chancel backup@192.168.1.2::betterlife
- 如测试不通过,通过返回错误信息排错,注意模块名称,账户密码,权限问题,防火墙问题,测试如通过,则创建backup脚本
# 创建backup脚本并命名为backup.shvim /home/backup.sh# 写入脚本#!/bin/bashinotifywait -mrq --timefmt '%d/%m/%y %H:%M' --format '%T %w%f%e' -e close_write,delete,create,attrib 监测目录 \| while read files do rsync -vzrtopg --delete --progress --password-file=/etc/server.pass 同步文件目录 backup@服务器地址::模块名 echo "${files} was rsynced" >>/tmp/rsync.log 2>&1 done
- 后台运行该脚本,并加入启动项
./backup.sh >>/var/www/backup.log &echo "./backup.sh >>/var/www/backup.log &" >>/etc/rc.local
标签云
-
TomcatSSHVsftpdMacOSRedisFlask部署KotlinVirtualminMemcacheHAproxyCactiDNSWgetSecureCRTCurlWPSAnsibleSVNWordPressLighttpdPHPiPhoneBashFirewalldLUAAppleMariaDBsquidIptablesKVMSQLAlchemy监控IOSWiresharkGoogleZabbixPythonOpenVZ缓存Android集群SupervisorGITGolangSwarmSwiftJenkinsOfficeNFSOpenStackCDNMongodbLVMWindowsSnmpPuttyTcpdump备份YumOpenrestyFlutterSamba容器RedhatSaltStack代理服务器CrontabVirtualboxShellInnoDBUbuntuVPSDockerKloxoKubernetesMySQLApacheNginxPostgreSQLTensorFlowDeepinPostfixSystemdSocketDebianCentosRsyncLinuxVagrant