Ansible+Jenkins+Svn实现自动化部署
- 实验平台:CentOS6.8
- 主机使用IP: 10.113.128.120
- Jenkins版本:2.46.3
一、安装ansible
1. yum安装
yum -y install ansible
如果yum安装没有找到ansible包
使用阿里云的源
http://mirrors.aliyun.com/repo/epel-6.repo
cd /etc/yum.repo.d/
wget http://mirrors.aliyun.com/repo/epel-6.repo  #下载源
2. 配置文件
cd /etc/ansible/
ll

total 28
-rw-r--r-- 1 root root 18066 Jun  2 05:49 ansible.cfg       #ansible主配置文件
-rw-r--r-- 1 root root  1016 Jun  2 05:49 hosts             #定义主机组
drwxr-xr-x 2 root root  4096 Jun  2 05:49 roles             #定义规则
二、配置ansible
1. 为远程连接主机生成公/私钥
ssh-keygen -t rsa -P ''       #-t生成密钥类似(rsa/dsa) -P提供旧密码,'' 表示没有

Generating public/private rsa key pair.
Enter file in which to save the key (/root/.ssh/id_rsa):
Created directory '/root/.ssh'.
Your identification has been saved in /root/.ssh/id_rsa.
Your public key has been saved in /root/.ssh/id_rsa.pub.
The key fingerprint is:
5b:9e:3b:b7:04:47:e8:b3:28:cd:5a:ff:5e:a3:ae:b2 root@TLCUM01
The key's randomart image is:
+--[ RSA 2048]----+
|                 |
|           .     |
|          . .    |
|         . .     |
|        S = .    |
|       o = *     |
|      . * + . o  |
|       +...o.o . |
|      . Eo+B*.   |
+-----------------+
cd /root/.ssh/
ll

total 8
-rw------- 1 root root 1675 Jul  4 08:34 id_rsa         #私钥
-rw-r--r-- 1 root root  394 Jul  4 08:34 id_rsa.pub     #公钥
2. 写入信任文件
cat /root/.ssh/id_rsa.pub >> /root/.ssh/authorized_keys #将公钥导入authorized_keys并分发到需远程控制的服务器/root/.ssh/目录内(需新建改目录)
完成上步后:
ssh + 远程服务器IP #即可实现免密钥登入(ansible主机必须与其互通)
3.定义主机
vim /etc/ansible/hosts

[bs]
10.113.128.28
[yy]
10.113.128.196
[bb]
10.113.128.34
4. 测试
ansible 0BS -m command -a pwd
10.113.128.28 | SUCCESS | rc=0 >>
/root
ansible命令详解
ansible
Usage: ansible <host-pattern> [options]

Options:
  -a MODULE_ARGS, --args=MODULE_ARGS        #模块的参数,如果执行默认COMMAND的模块,即是命令参数,如:“date”,"pwd"等等
                        module arguments    #模块参数
  --ask-vault-pass      ask for vault password
  -B SECONDS, --background=SECONDS          #后台运行超时时间
                        run asynchronously, failing after X seconds
                        (default=N/A)
  -C, --check           don't make any changes; instead, try to predict some
                        of the changes that may occur   #只是测试一下会改变什么内容,不会真正去执行;相反,试图预测一些可能发生的变化
  -D, --diff            when changing (small) files and templates, show the
                        differences in those files; works great with --check
  -e EXTRA_VARS, --extra-vars=EXTRA_VARS
                        set additional variables as key=value or YAML/JSON
  -f FORKS, --forks=FORKS                                   #并行任务数。NUM被指定为一个整数,默认是5
                        specify number of parallel processes to use
                        (default=5)
  -h, --help            show this help message and exit     #打开帮助文档API
  -i INVENTORY, --inventory-file=INVENTORY                  #指定库存主机文件的路径,默认为/etc/ansible/hosts
                        specify inventory host path
                        (default=/etc/ansible/hosts) or comma separated host
                        list.
  -l SUBSET, --limit=SUBSET                                 #进一步限制所选主机/组模式  --limit=192.168.91.135 只对这个ip执行
                        further limit selected hosts to an additional pattern
  --list-hosts          outputs a list of matching hosts; does not execute
                        anything else
  -m MODULE_NAME, --module-name=MODULE_NAME                 #执行模块的名字,默认使用 command 模块,所以如果是只执行单一命令可以不用 -m参数
                        module name to execute (default=command)
  -M MODULE_PATH, --module-path=MODULE_PATH                 #要执行的模块的路径,默认为/usr/share/ansible/
                        specify path(s) to module library (default=None)
  --new-vault-password-file=NEW_VAULT_PASSWORD_FILE
                        new vault password file for rekey
  -o, --one-line        condense output                     #压缩输出,摘要输出.尝试一切都在一行上输出。
  --output=OUTPUT_FILE  output file name for encrypt or decrypt; use - for
                        stdout
  -P POLL_INTERVAL, --poll=POLL_INTERVAL                    #调查背景工作每隔数秒。需要-b
                        set the poll interval if using -B (default=15)
  --syntax-check        perform a syntax check on the playbook, but do not
                        execute it
  -t TREE, --tree=TREE  log output to this directory                #将日志内容保存在该输出目录,结果保存在一个文件中在每台主机上。
  --vault-password-file=VAULT_PASSWORD_FILE
                        vault password file
  -v, --verbose         verbose mode (-vvv for more, -vvvv to enable
                        connection debugging)                       #详细信息
  --version             show program's version number and exit      #输出ansible的版本

  Connection Options:
    control as whom and how to connect to hosts

    -k, --ask-pass      ask for connection password     #登录密码,提示输入SSH密码而不是假设基于密钥的验证
    --private-key=PRIVATE_KEY_FILE, --key-file=PRIVATE_KEY_FILE
                        use this file to authenticate the connection
    -u REMOTE_USER, --user=REMOTE_USER
                        connect as this user (default=None)
    -c CONNECTION, --con\=CONNECTION              #连接类型使用。可能的选项是paramiko(SSH),SSH和地方。当地主要是用于crontab或启动。
                        connection type to use (default=smart)
    -T TIMEOUT, --timeout=TIMEOUT       #指定SSH默认超时时间,  默认是10S
                        override the connection timeout in seconds
                        (default=10)
    --ssh-common-args=SSH_COMMON_ARGS
                        specify common arguments to pass to sftp/scp/ssh (e.g.
                        ProxyCommand)
    --sftp-extra-args=SFTP_EXTRA_ARGS
                        specify extra arguments to pass to sftp only (e.g. -f,
                        -l)
    --scp-extra-args=SCP_EXTRA_ARGS
                        specify extra arguments to pass to scp only (e.g. -l)
    --ssh-extra-args=SSH_EXTRA_ARGS
                        specify extra arguments to pass to ssh only (e.g. -R)

  Privilege Escalation Options:
    control how and which user you become as on target hosts

    -s, --sudo          run operations with sudo (nopasswd) (deprecated, use
                        become)
    -U SUDO_USER, --sudo-user=SUDO_USER
                        desired sudo user (default=root) (deprecated, use
                        become)     #远程用户, 默认是root用户
    -S, --su            run operations with su (deprecated, use become)
    -R SU_USER, --su-user=SU_USER   #指定SU的用户,默认是root用户
                        run operations with su as this user (default=root)
                        (deprecated, use become)
    -b, --become        run operations with become (does not imply password
                        prompting)
    --become-method=BECOME_METHOD
                        privilege escalation method to use (default=sudo),
                        valid choices: [ sudo | su | pbrun | pfexec | doas |
                        dzdo | ksu | runas ]
    --become-user=BECOME_USER
                        run operations as this user (default=root)
    --ask-sudo-pass     ask for sudo password (deprecated, use become)
    --ask-su-pass       ask for su password (deprecated, use become)
    -K, --ask-become-pass           #提示密码使用sudo,sudo表示提权操作
                        ask for privilege escalation password
</host-pattern>
三、Jenkins
1. 官网下载jenkins
https://jenkins.io/download/                     #这里我下载通用war包(在此我下的2.46.3版本2.60.1版本在tomcat下跑不起来,报错是版本有问题~)
http://mirrors.jenkins.io/war-stable/2.46.3/     #2.46.3版本的下载地址
还可以直接跑(建议使用Tomcat的方式):
改变端口再次执行,
java -jar jenkins.war --httpPort=$HTTP_PORT, 例如java -jar jenkins.war --httpPort=1080
2. 访问测试
10.113.128.120:8080/jenkins #或localhost:8080/jenkins
四.配置Jenkins
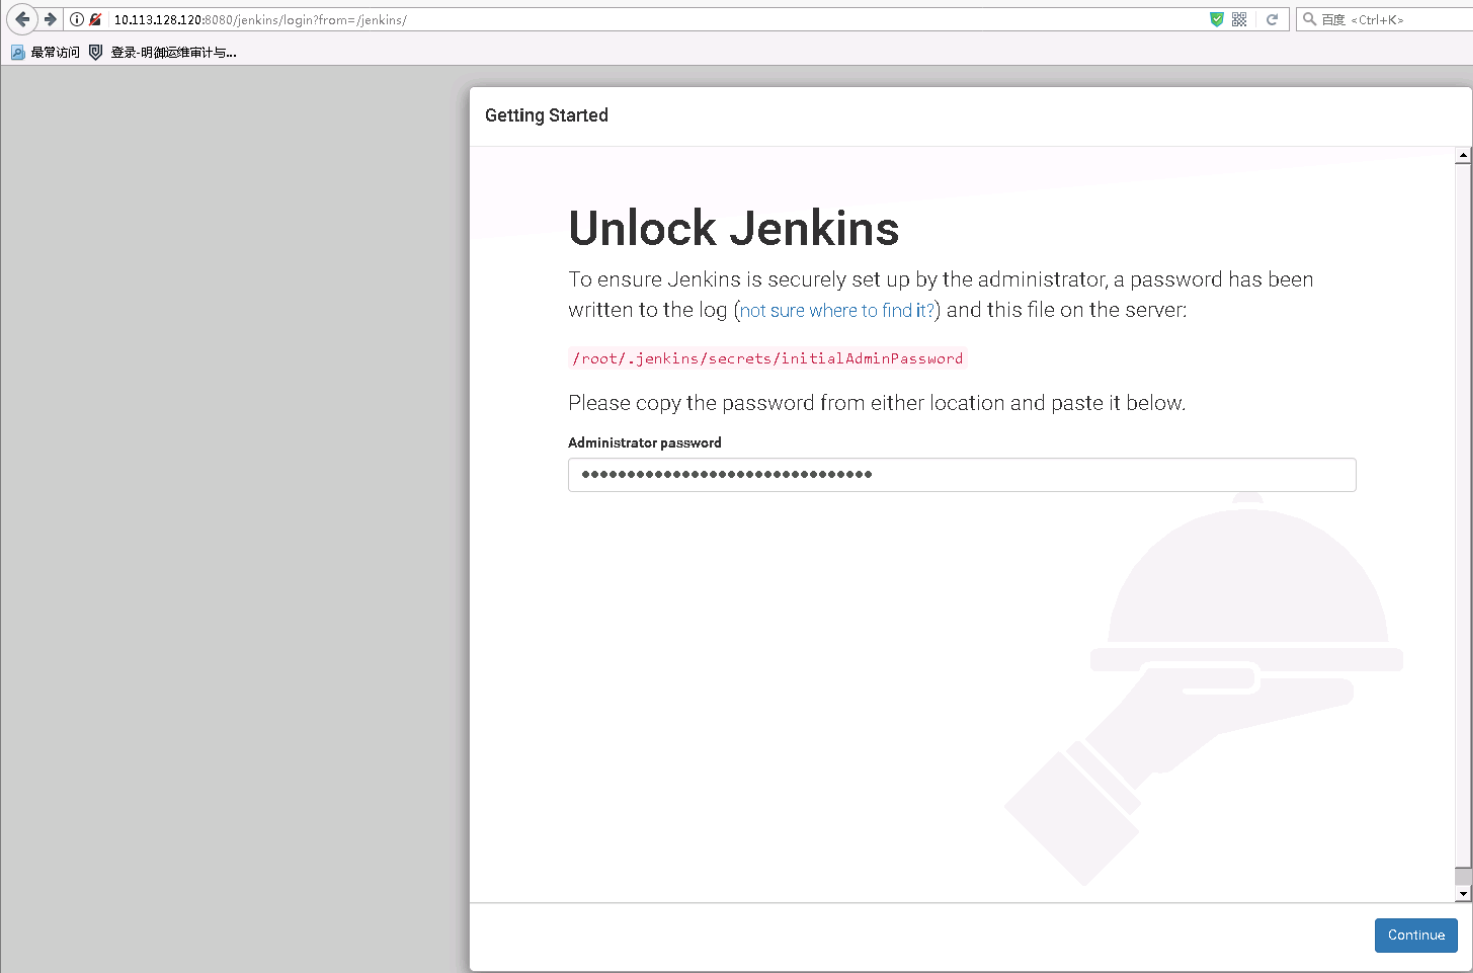
1. 配置登录
将/root/.jenkins/secrets/initialAdminPassword里的密码文件拷贝进去
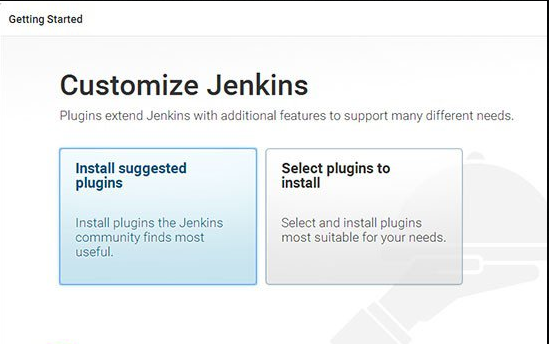
2. 选择第一个
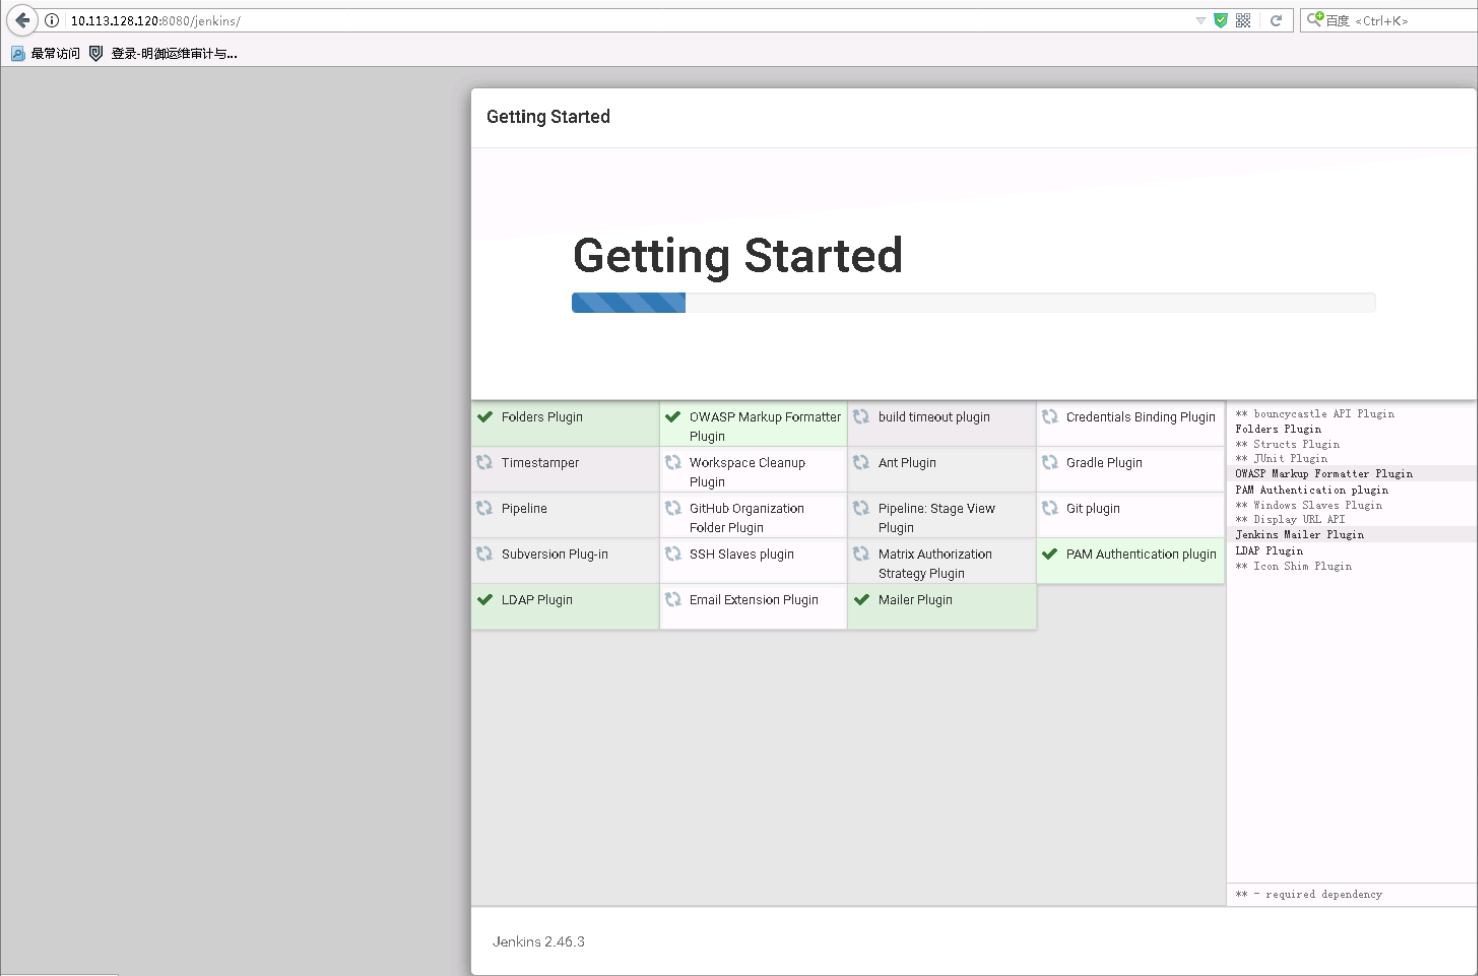
3. 开始安装
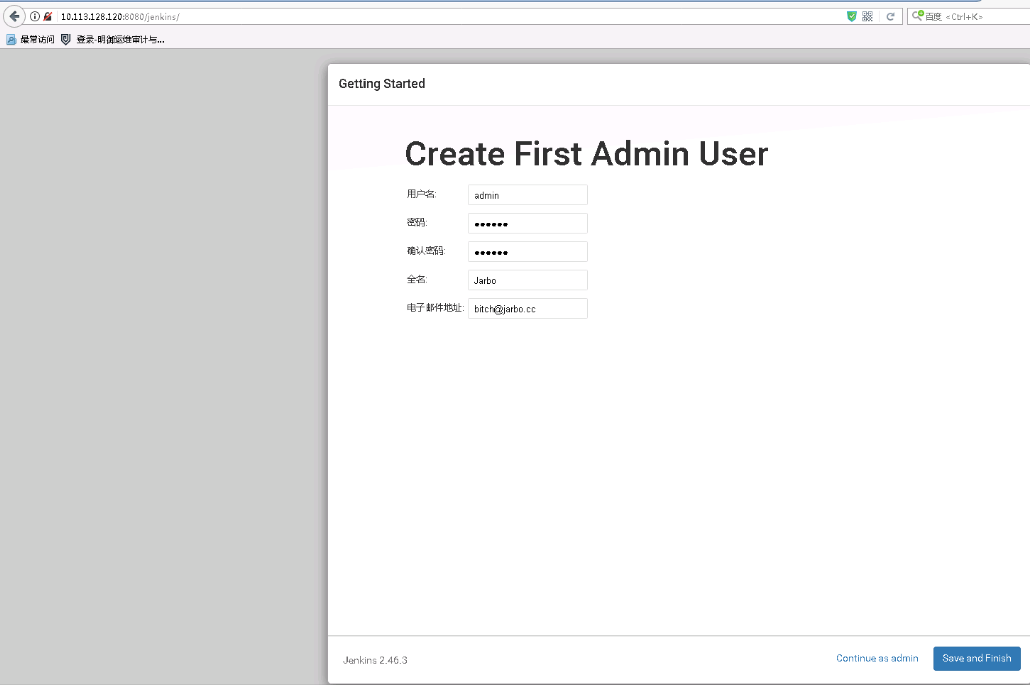
4. 配置用户信息
5. 安装完成
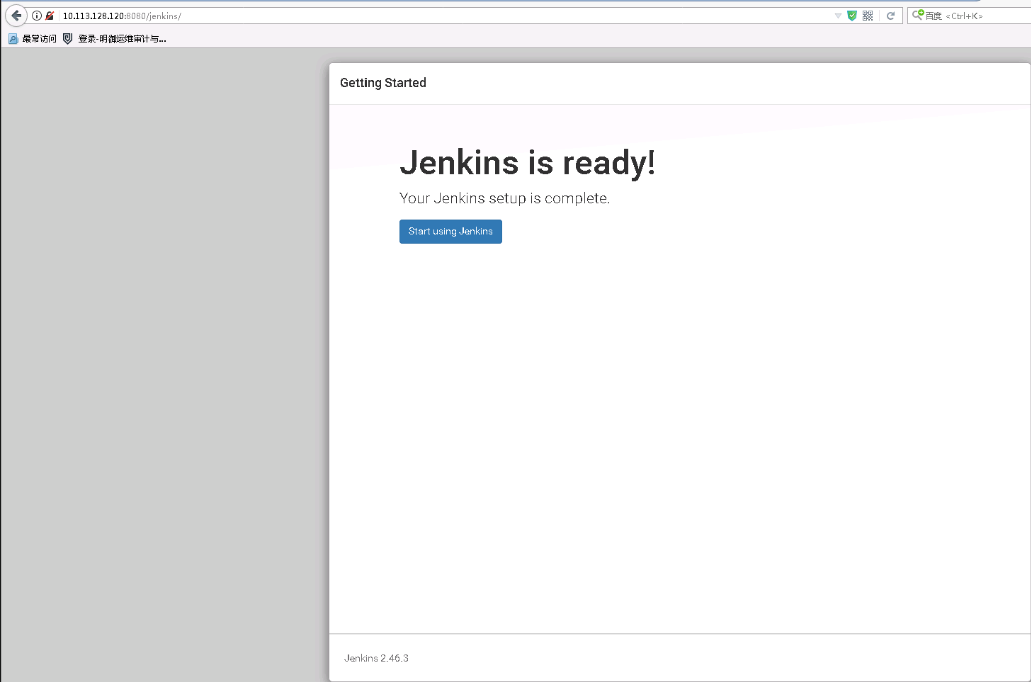
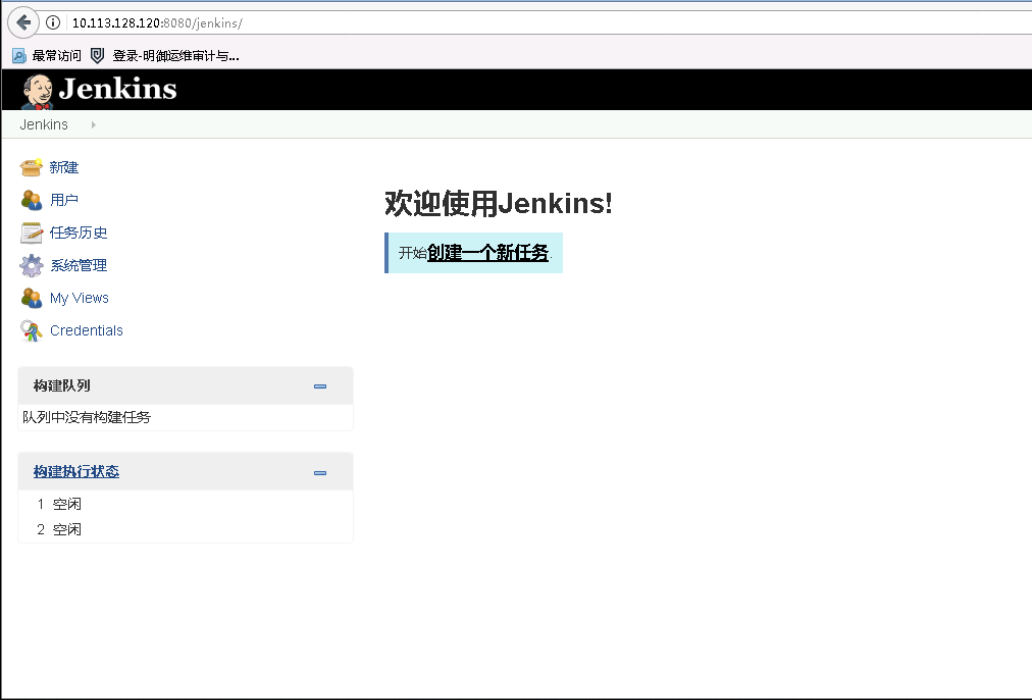
6. 测试(10.113.128.120:8080/jenkins)
五、搭建svn
1. 安装
sudo yum -y install subversion  #安装svn
mkdir /ane/svn/tl -p            #创建选择在var路径下创建版本库
svnadmin create /ane/svn/tl/    #在第二步建立的路径基础上,创建版本库
cd /ane/svn/tl/conf             #进入配置目录
ll

authz:                          #负责账号权限的管理,控制账号是否读写权限
passwd:                         #负责账号和密码的用户名单管理
svnserve.conf:                  #svn服务器配置文件
vim authz                       #编辑

[aliases]
# joe = /C=XZ/ST=Dessert/L=Snake City/O=Snake Oil, Ltd./OU=Research Institute/CN=Joe Average

[groups]
# harry_and_sally = harry,sally
# harry_sally_and_joe = harry,sally,&joe

# [/foo/bar]
# harry = rw
# &joe = r
# * =

# [repository:/baz/fuz]
# @harry_and_sally = rw
# * = r

[\]
ane = rw                            #新增(ane用户读写权限)
vim passwd                          #编辑

[users]
# harry = harryssecret
# sally = sallyssecret
ane = redhat                        #给ane用户密码为redhat

vim svnserve.conf                   #编辑


[general]

anon-access = read
auth-access = write

password-db = /ane/svn/tl/conf/passwd   #使用paswwd文件里的配置;这里要给绝对路径

authz-db = /ane/svn/tl/conf/authz       #使用authz文件里的配置;这里要给绝对路径

realm = My First Repository             #Svn讲解
六、构建
1. 首先配置好ansible里的规则(playbook) 进入roles
pwd
/etc/ansible/roles
mkdir tlsit             #创建palybook目录(tlsit项目名称)
cd /etc/ansible/roles/tlsit/
vim bs.yml

-hosts: bs             #这个是你选择的主机
 roles:
 -bs                   #这个是你下步创建的目录
NullCopy
再在bs.yml同级下创建bs文件为其添加远程构建步骤
mkdir bs
cd bs
mkdir tasks
vim main.yml

- name: del
  shell: rm -rf /ane/update/*
- name: copy
  copy: src=/root/.jenkins/workspace/sit-0BS/ROOT/ROOT.war  dest=/ane/update/
- name: update
  shell: sh /ane/script/startApp.sh
2. 进入Jenkins的主界面
点击系统管理->选择管理插件->安装Ansible plugin插件(右上角搜索),点击直接安装
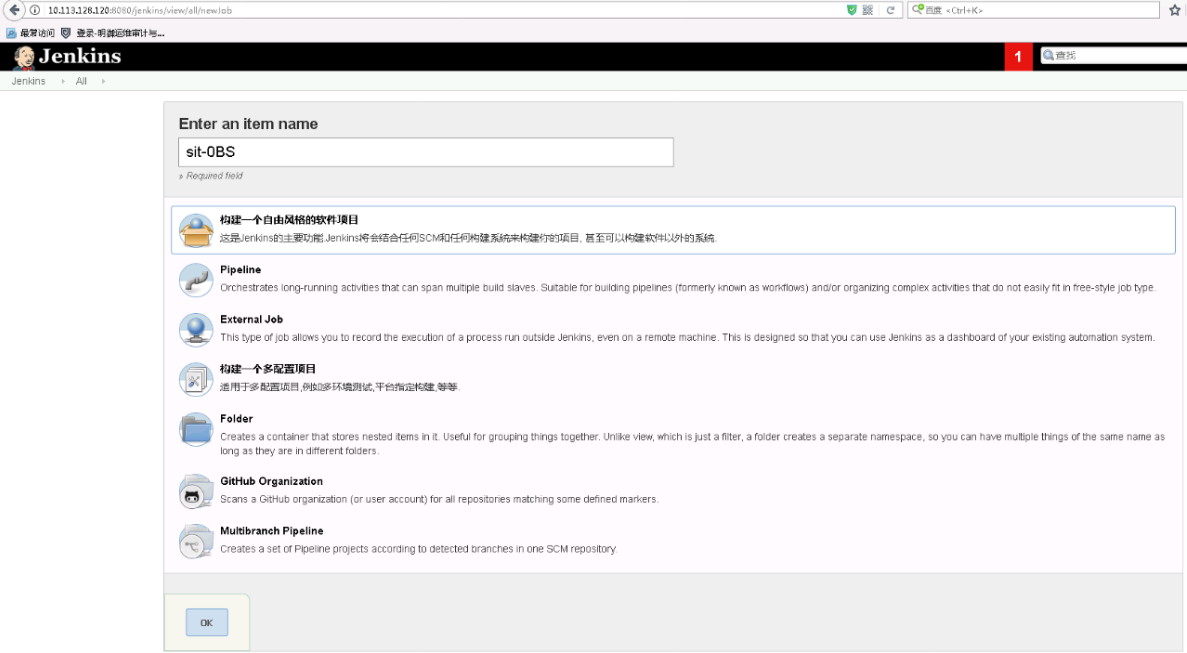
3. 进入Jenkins的主界面点击新建或创建一个新任务
4. 输入项目的名字选择第一个点击OK
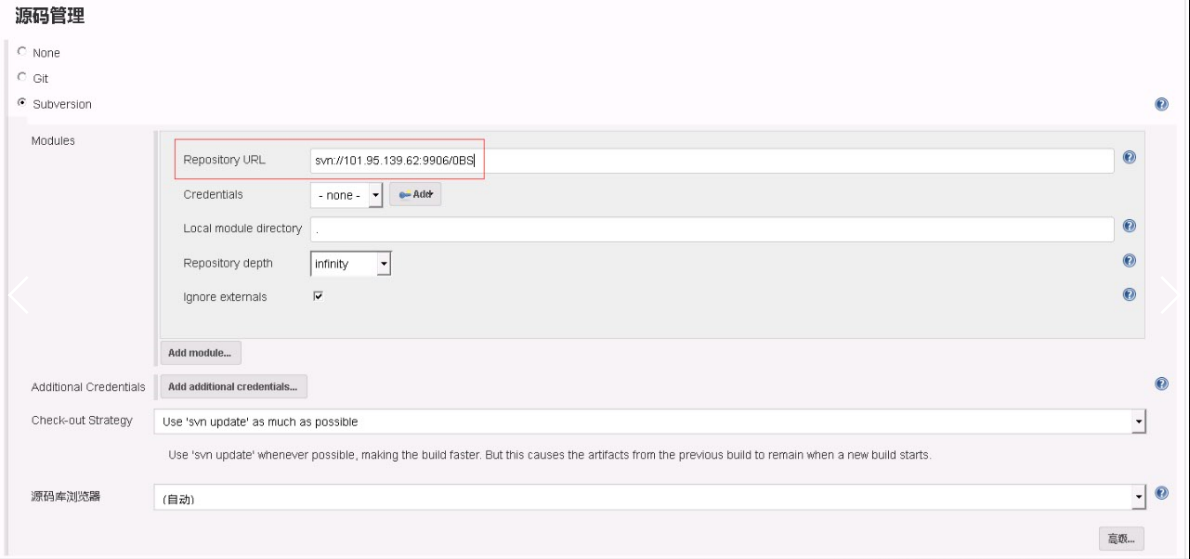
5. 选择源码管理中的Subversion(SVN) 填写第五步搭建SVN的地址(里面需要有代码)
6. 选择构建 增加构建步骤 选择 Execute shell

7. 配置

8. 选择构建 增加构建步骤 选择 lnvoke Ansible Playbook

9. 配置

10. 点击立即构建。
蓝色–>成功
红色–>失败
白色–>为构建或取消构建
标签云
-
集群RedhatTomcatLVMLinuxAndroid部署GIT监控Postfix代理服务器WgetCurlSwiftWPSVagrantFlaskVsftpdMongodbDebianApacheTensorFlowSnmpBashVPSPuttySystemdJenkinsKloxoPHPUbuntuMacOSSambaPythonCDNiPhoneSupervisorTcpdump容器PostgreSQLShellMariaDBNginxKVMSVNCentosFirewalldDockerLUAWiresharkOfficesquidWordPressWindowsYumGoogleCactiDNSSQLAlchemyLighttpdSwarmKotlinAppleZabbixHAproxyDeepinMySQLIptablesVirtualmin缓存FlutterKubernetesNFSSecureCRTRedisSSHInnoDBIOS备份OpenStackOpenVZOpenrestyCrontabGolangSocketMemcacheAnsibleRsyncVirtualboxSaltStack