gitlab部署与基本使用
环境
- 系统:centos7
- 内核:3.10.0-693.el7.x86_64
- 配置:4G/8G
软件包
https://packages.gitlab.com/gitlab/gitlab-ce
选择自己需要的包
下载安装
1、rpm安装
[root@localhost ~]# wget https://packages.gitlab.com/gitlab/gitlab-ce/packages/el/7/gitlab-ce-10.2.3-ce.0.el7.x86_64.rpm
[root@localhost ~]# rpm -ivh gitlab-ce-10.2.3-ce.0.el7.x86_64.rpm
2、yum安装
配置yum环境
[root@localhost ~]# cat /etc/yum.repos.d/gitlab.repo
[gitlab-ce]
name=gitlab-ce
baseurl=http://mirrors.tuna.tsinghua.edu.cn/gitlab-ce/yum/el7
repo_gpgcheck=0
gpgcheck=0
enabled=1
gpgkey=
[root@localhost ~]# yum clean all
[root@localhost ~]# yum -y install gitlab-ce
3、自动安装
[root@localhost ~]# curl -s https://packages.gitlab.com/install/repositories/gitlab/gitlab-ce/script.rpm.sh | sudo bash
依赖关系安装
安装curl、policycoreutils、openssh-server、openssh-clients,安装postfix以便发送邮件
[root@localhost ~]# yum install curl policycoreutils openssh-server openssh-clients postfix -y
关闭防火墙firewalld
修改gitlab配置文件
[root@localhost ~]# egrep -v "^$|^#" /etc/gitlab/gitlab.rb
external_url 'http://192.168.192.148'
重新配置应用程序,每次修改配置文件都要执行此命令,重新加载配置文件
[root@localhost ~]# gitlab-ctl reconfigure
gitlab管理
启动
[root@localhost ~]# gitlab-ctl start
关闭
[root@localhost ~]# gitlab-ctl stop
状态
[root@localhost ~]# gitlab-ctl status
重启
[root@localhost ~]# gitlab-ctl restart
列出所有服务
[root@localhost ~]# gitlab-ctl service-list
显示配置
[root@localhost ~]# gitlab-ctl show-config
默认配置文件位置说明
- 主配置文件:/etc/gitlab/gitlab.rb
-
日志地址:/var/log/gitlab
-
服务地址:/var/opt/gitlab
-
仓库地址:/var/opt/gitlab/git-data
gitlab页面操作
访问
192.168.192.48默认端口80,首次登陆需要为root用户创建一个不少于8位的密码
关闭注册,避免一些不必要的麻烦
项目和群组有一定的关联性,一般以群组区分不同的项目
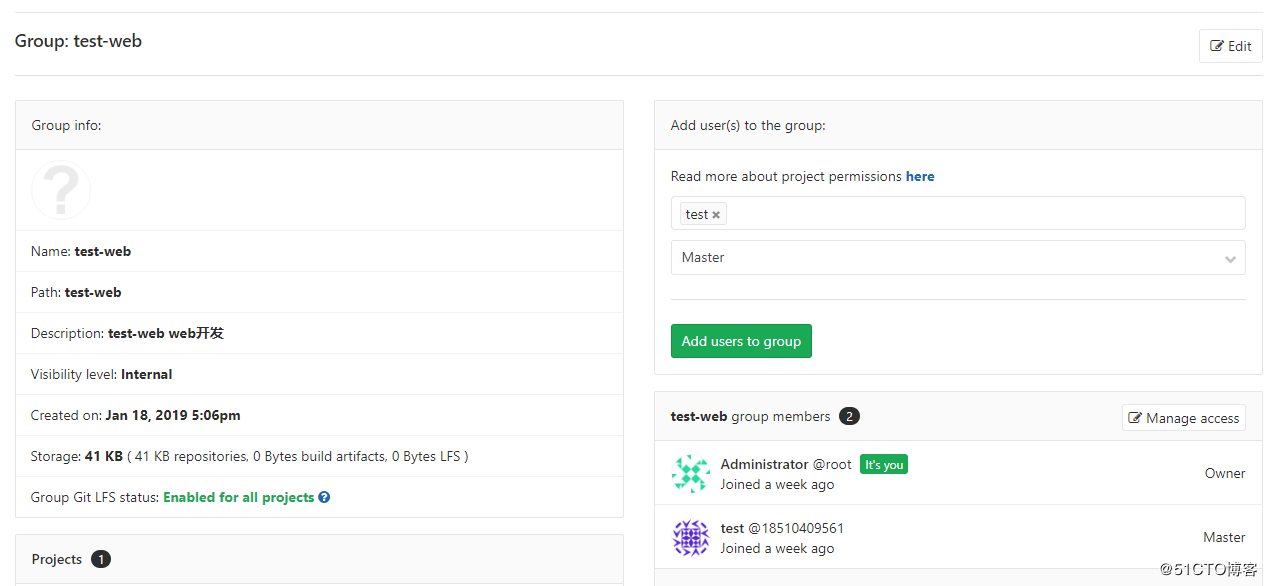
创建群组

群组创建名称最好是一个可识别的名称,根据重要等级不同,可以选择不同的可见性
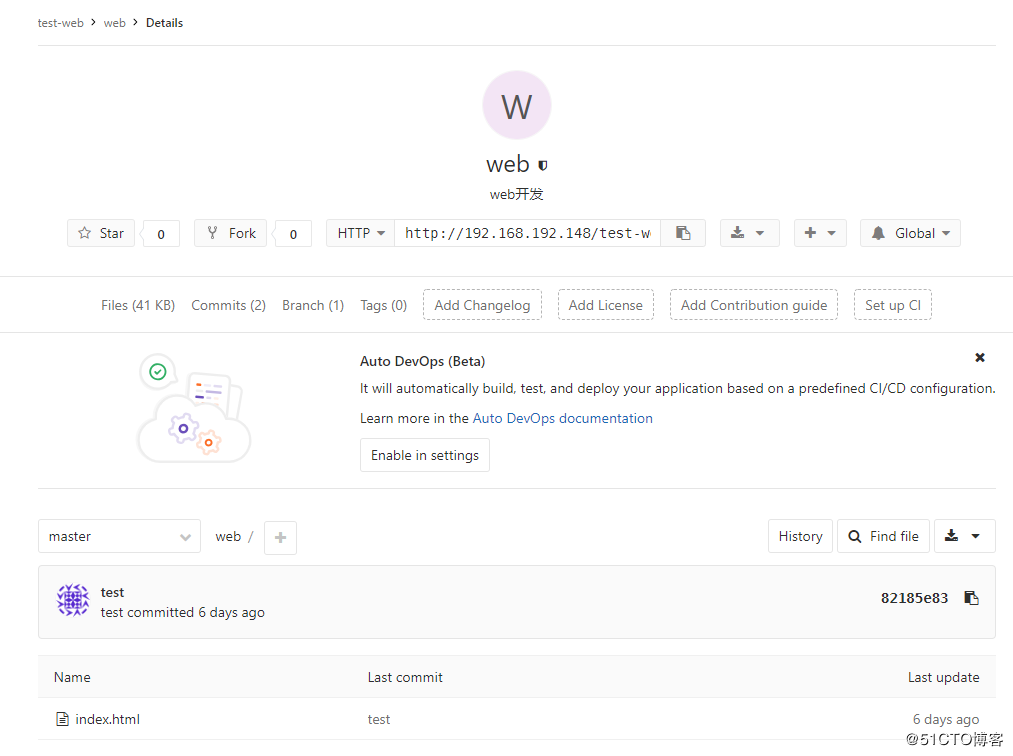
创建项目
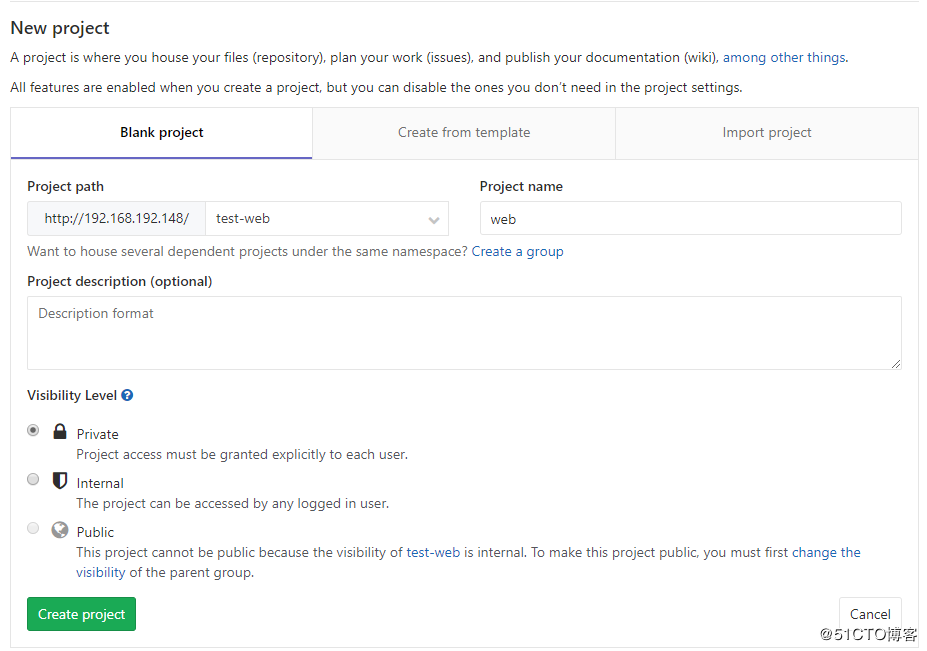
选择关联的组,后边指定项目名称,可见等级根据不同的项目可以做调整
创建用户
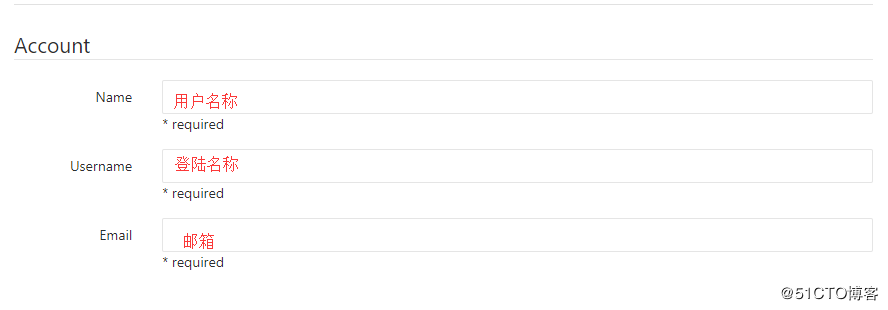
邮箱中会收到一个邮件,用户通过此邮件进行密码设置
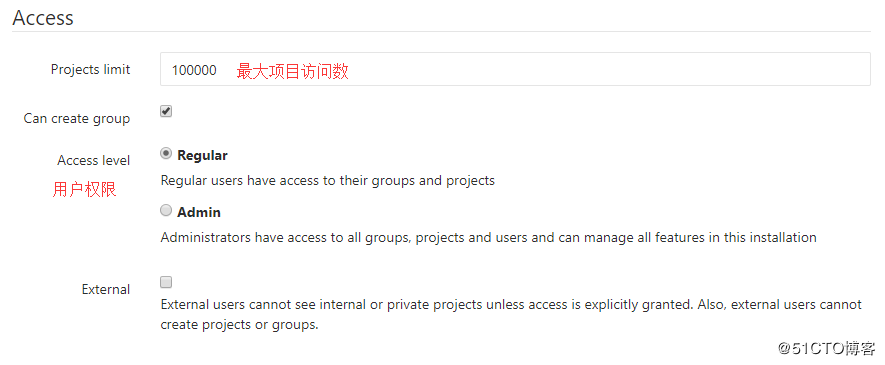
关联用户、组,给与用户不同的权限
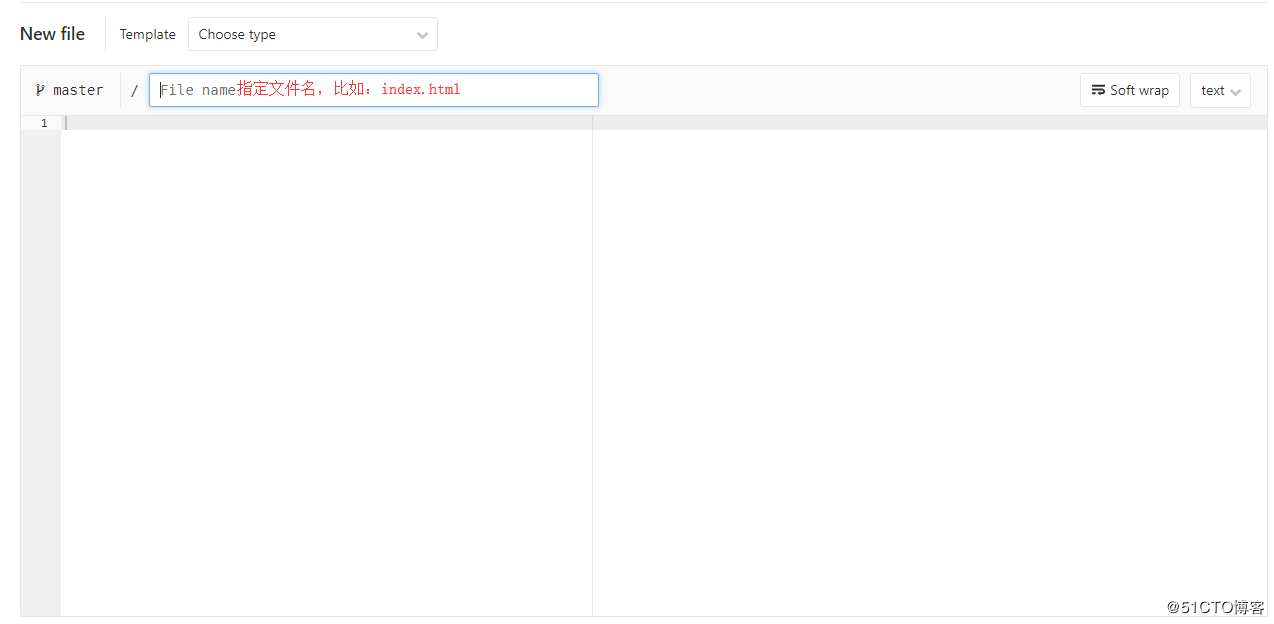
添加测试文件

在下方写入相关代码
下载代码
安装git
[root@localhost ~]# yum -y install git

可以git表示部署成功
标签云
-
squidAndroid部署SVNIOSVPSVirtualminKloxo备份SupervisorCactiTensorFlowRedhatBashSQLAlchemyMongodbVagrantMySQLMemcacheUbuntuAnsible代理服务器监控JenkinsFlutterWiresharkCentosSystemdSambaVirtualboxIptablesFirewalldNginxKVMCurlPHP容器KubernetesLinuxOfficeYum缓存GoogleOpenrestyLVMShellMariaDBSocketFlaskLighttpdWindowsiPhoneOpenVZWgetGITWordPressZabbixCDNAppleDebianSnmpMacOSDNSLUASwarmPythonRsyncWPSCrontabRedisGolangVsftpdSwiftTcpdumpApachePuttySecureCRTPostfixInnoDBHAproxyNFSPostgreSQLDeepinDockerSaltStackSSHOpenStackKotlinTomcat集群